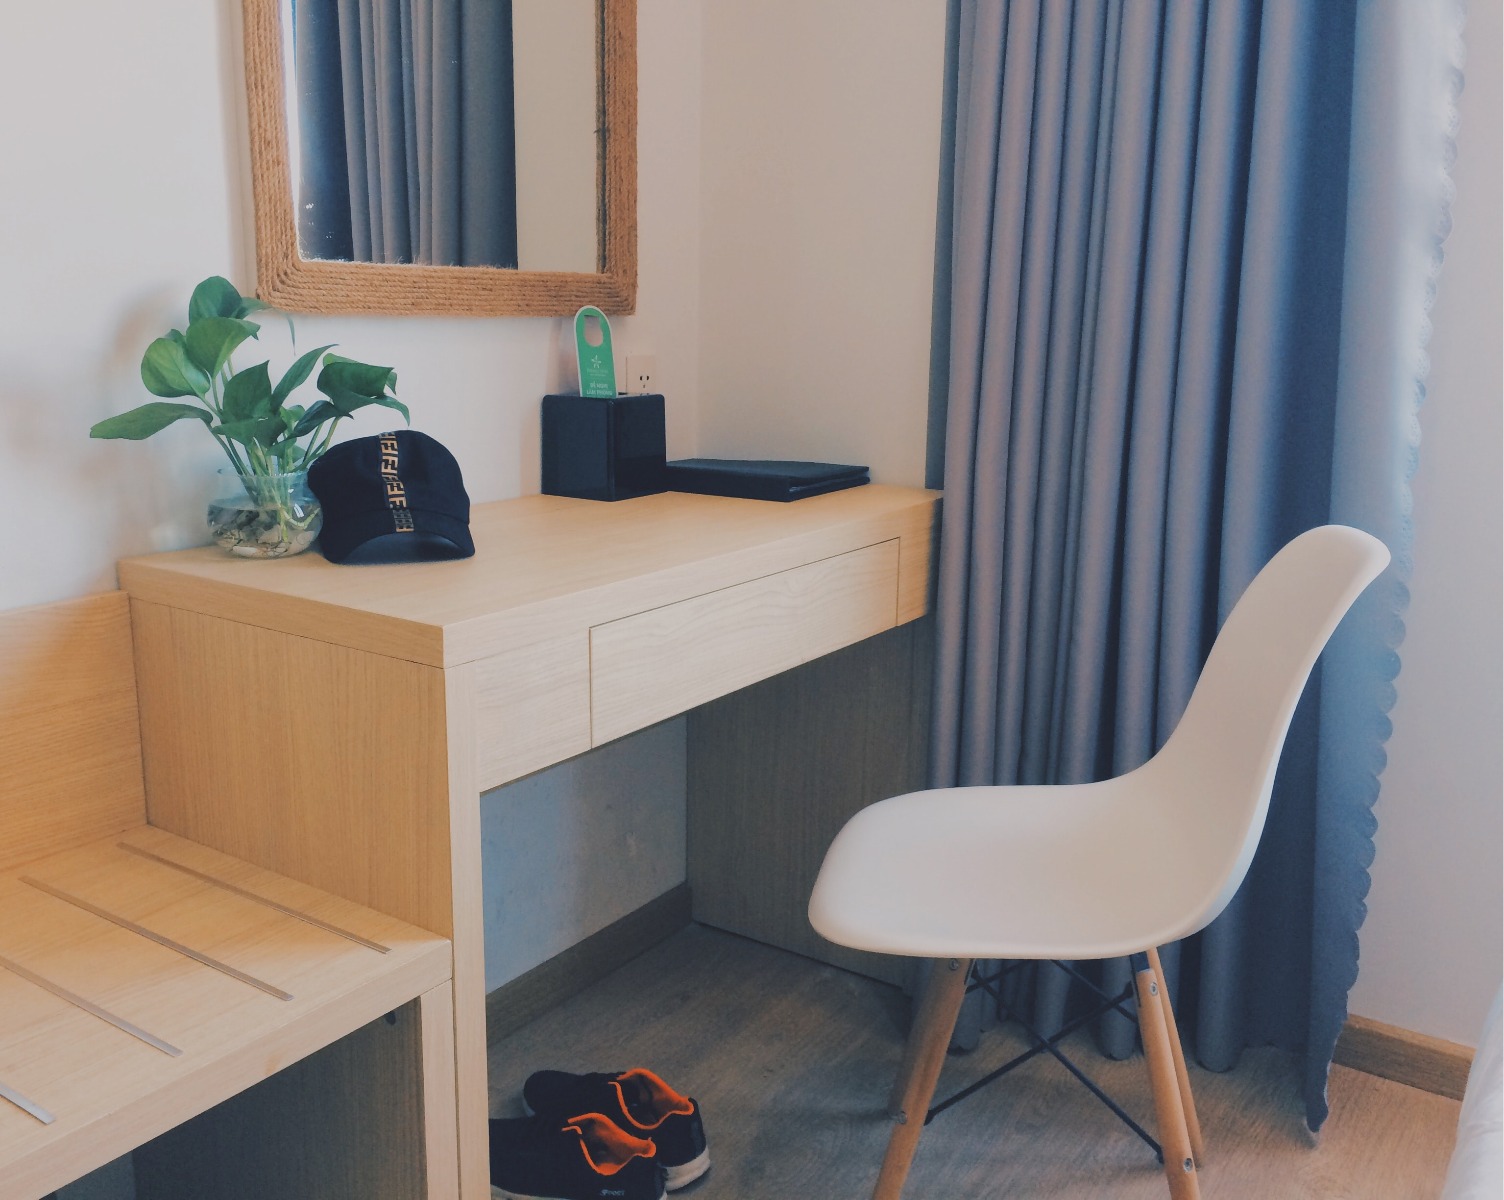
Unless you live in a museum, your wooden vanity table is subjected to a great deal of abuse. Wet glasses leave white rings behind. The finish on the edges of vanity tables wears away over time. Then there are all the minor scratches, dents, and divots that occur on wood surfaces without warning. Don't be discouraged.
This type of minor damage can be repaired fast and easily without causing any damage to your dressing table or budget. (If you have a valuable antique piece of furniture, you may wish to hire a professional restorer.)
How to repair wood vanity table scratches
On any clear finish—lacquer, varnish, polyurethane, or shellac—the simple techniques for repairing vanity table on the following pages will work. Most home improvement stores have the few things you'll need, such as denatured alcohol, wax sticks, and touch-up markers, in the paint and finishes department. Scratch-cover polish can be found in the cleaning supplies section.
Clean the wooden vanity table thoroughly with a mix of dishwashing liquid or Murphy Oil Soap and water to remove any wax, grease, oil, or polish before attempting any repairs. After cleaning the piece, do repairs in the following order: white water rings first, light surface scratches second, deep scratches third, dents and nicks fourth. After that, all you have to do is dust with a moist cloth, wipe up spills as quickly as possible, and clean off any oil and filth with mild dishwashing detergent and water every now and then.

Stains caused by water
White rings, which form when water vapor penetrates a finish, can be erased by gently wiping them away with a denatured alcohol-soaked cloth. (Black rings indicate damaged wood and necessitate total removal of the surrounding finish before attempting any repairs.) The finish can be dulled if there is too much alcohol in the mix. If this happens, rub with extra-fine 0000 steel wool and paste wax to restore a smooth shine. Use an auto polishing agent and a rag to restore the gloss surface. Go over the damaged region and the entire nearby surface to blend the repair in.
Chips that aren't too thick
Fill the ding with a few drops of clear nail polish if the clear finish has chipped but the underlying color is still visible. Sand flush with 600-grit sandpaper after the polish has dried. For satin surfaces, use 0000 steel wool and paste wax to restore the sheen; for gloss finishes, use an auto polishing compound and a rag.
Large scuffs and frayed edges
Touch-up markers with a felt tip are available in a number of wood vanity tables to match common vanity table finishes. Color big scratches or edges where the stain has worn away with them. Only apply to damaged areas, and wipe away any excess if it gets to adjoining finishes.
Apply a coat of paste wax to the repair and the surrounding area to give it a uniform gloss.
How to restore a vanity table
In a bedroom, bathroom, or dressing area, a dressing table adds a sense of refinement and old-fashioned charm. It includes plenty of tabletop areas for cosmetics and grooming products, as well as drawers or shelves for extra storage. The large mirror that usually adorns the top of a vanity table is an important aspect of both utility and appearance. Restore your old dressing table to its former glory or give it a modern makeover with new paint colors.
Restoration of a vanity table, like most restoration projects, necessitates some preliminary work. Remove any drawers from the table and any hardware, such as drawer knobs and the entire mirror system, which is usually attached at the back. Tighten any screws that are visible, and reglue any bonded portions that appear to be loose or unsteady. Place all pieces to be refinished outside or on top of a tarp or drop cloth in a well-ventilated area.
Repaint and remove the previous finish
The vanity table is most likely covered in an old finish, such as varnish, paint, or numerous layers of paint. If the current finish isn't removed or at least properly prepared, your new finish won't stick correctly or last long. Apply a citrus-based paint and varnish stripper to all finished portions of the table to bring it down to bare wood. Leave it on for as long as the manufacturer recommends. After a chemical reaction, a scraper is used to remove the finish and stripper. It may take a few tries to get it right. If you don't want to completely remove the original finish, use medium-grit sandpaper followed by fine-grit paper to sand it down. In the process, smooth any uneven spots, then wipe everything off with a tack cloth to remove dust.
Painting over a previous finish necessitates the use of primer in order for the new paint to adhere. After masking off a framed mirror with painter's tape and newspaper so no paint gets on it, apply a latex primer or all-in-one latex primer/paint over the sanded, cleaned table. Once the primer is complete, paint the makeup table in the color of your choice — a traditional effect is achieved with French vanilla or antique white, or pick a color that complements the room in which it will be placed. If you're varnishing the vanity table rather than painting it, skip the primer and apply the varnish with a good paintbrush or a foam brush, taking your time to avoid bubbles and drips. If you're not sure if you'll like the shade, test it on the vanity table's underside.

